In Process Photos
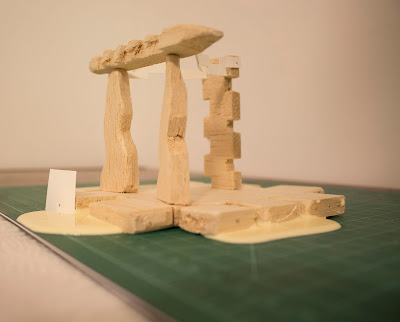 |
| Drying Glue In Process; Balsa Wood, Wood Glue, Paper, Masking Tape, Pins; 6.5" x 5" x 8.5" |
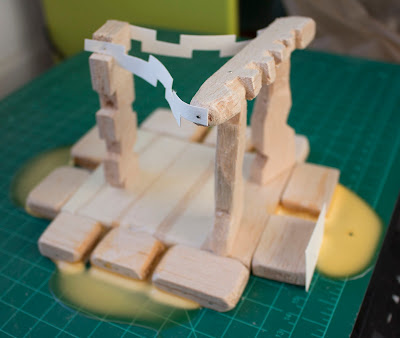 |
| Dried Glue In Process; Balsa Wood, Wood Glue, Paper, Masking Tape, Pins; 6.5" x 5" x 8.5" |
Various Angles and Detail Photos
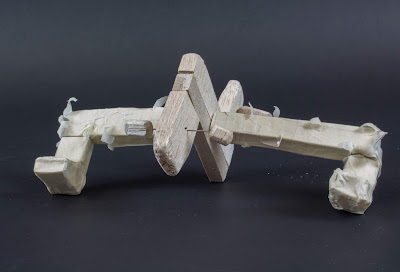 |
| Symmetry Front Quarter View; Masking Tape, Balsa Wood, Pins; 8" x 3.5" x 5.5" |
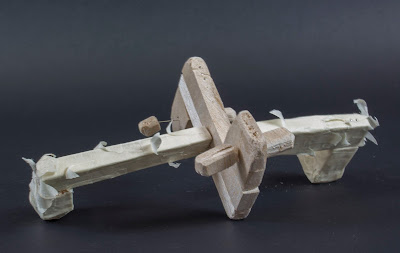 |
| Symmetry Back Quarter View; Masking Tape, Balsa Wood, Pins; 8" x 3.5" x 5.5" |
|
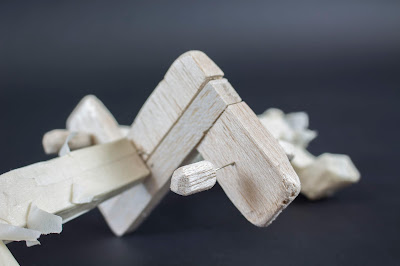 |
| Symmetry Detail; Masking Tape, Balsa Wood, Pins; 8" x 3.5" x 5.5" |
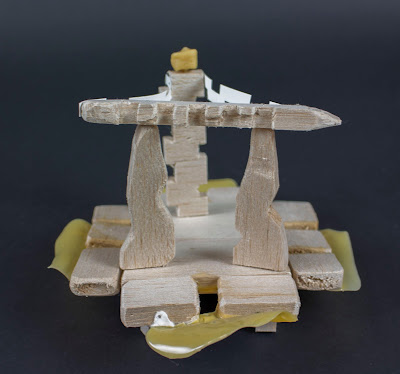 |
| Pattern Front View; Balsa Wood, Masking Tape, Wood Glue, Pins; 6.5" x 5" x 8.5" |
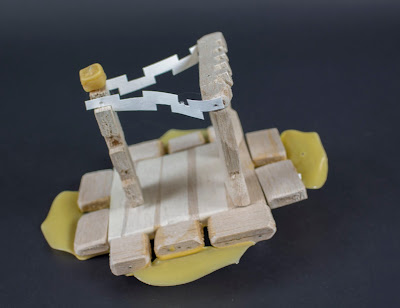 |
| Pattern Side View; Balsa Wood, Masking Tape, Wood Glue, Pins; 6.5" x 5" x 8.5" |
|
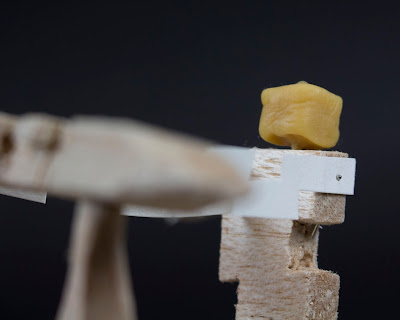 |
| Pattern Detail; Balsa Wood, Masking Tape, Wood Glue, Pins; 6.5" x 5" x 8.5" |
|
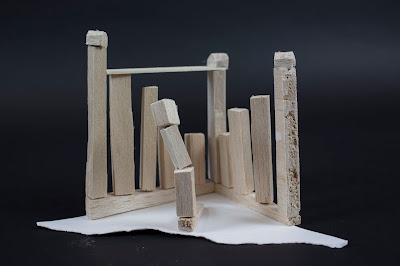 |
| Scale Front View; Balsa Wood, Paper, Pins; 7.5" x 5" x 4" |
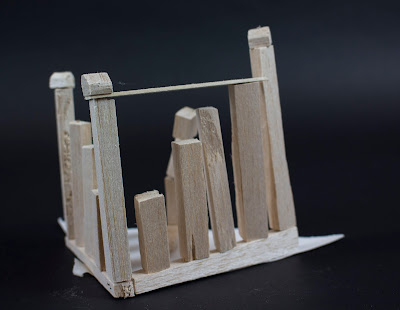 |
| Scale Back Quarter View; Balsa Wood, Paper, Pins; 7.5" x 5" x 4" |
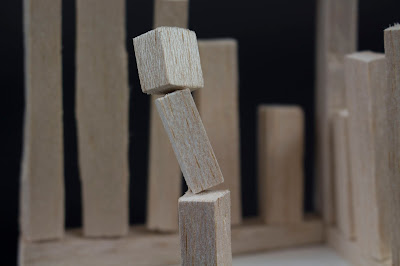 |
| Scale Detail; Balsa Wood, Paper, Pins; 7.5" x 5" x 4" |
Artist Statements
Sculpture #1 - Symmetry
This first sculpture transitioned from being texture originally to symmetry. That is the reason for the very particular texture of the tape on the "wings" of the figure. However, this aspect of the figure worked for the new concept since it gave the object another detail to be reflected on the other side. The wing went from being a worm-like object to being duplicated into reflective "wings." Just as was the case with the other two sculptures, I wanted to be very free and loose with the materials/idea and tweak and add to the figure as I continued the process. Overall, I wanted a process that would not be limited by its beginning and could shift and adapt as I add pieces to the sculpture. In hindsight, I wish I had created a more firm foundation to work off, but I did find it interesting to mold and change my original creation as I progressed.
Sculpture #2 - Pattern
Repetition could also probably work for this figure, but the fact that the front of the sculpture does not repeat the square pattern of the rest would exclude this option. This one, especially, is where a sense of architecture is conveyed in the final product. For the arch, even though I was not explicitly trying to mimic it, I was very likely inspired by the Japanese torii - which explains the curvy design of the arch as a whole. The glue that appears as a floating puddle was originally intended to be a sort of tile grout but ended up as a more abstract and flowing pattern that extended the boundaries of the otherwise squarish figure. Although in a more unintentional way, this is once again an example of the free and fluid process of building these sculptures that I wanted from the beginning.
Sculpture #3 - Scale
With the final sculpture, I wanted to communicate a sense of comparison in scale. Thus, I created a single, abstract object to compare to the rest of the "tower" figures. I also placed a edge on the top of the left side of the figure to mimic the look of bar graphs - the comparing of the scales of various bars in order to illustrate a statistic. It also creates a difference between the two sides of the sculpture, pushing the viewer to make further comparisons within the piece. However, I did not want this sculpture to be too straight and perfect. The added differences between the several bars allows for another aspect to compare and also nicely contrasts the idea of neatness and straightness that accompanies scales and bar graphs. Besides being aesthetically pleasing (especially when shadows cast upon it) the white paper torn on the bottom continues to juxtapose the clean-cut lines and worn edges that both exist on this paper while also creating a nice sense of space within the art piece.


No comments:
Post a Comment